Ever spend ages cleaning, only to feel like your home isn’t actually sparkling, or worse, ends up sticky or streaky? It’s frustrating, right? You put in the effort, but the results just aren’t there. Well, here’s a little secret: it might not be your effort that’s the problem, but how you’re tackling those chores. Many of us fall into common traps that actually make our cleaning less effective, spread germs around, or even damage surfaces.
Table of Contents
- Why Understanding Cleaning Mistakes Matters
- The Shift to Smarter Cleaning: Mindset Matters
- Mistake 1: Using Too Much Product (and How to Fix It)
- Mistake 2: Forgetting to Clean Your Cleaning Tools (and How to Fix It)
- Mistake 3: Wiping Surfaces Instead of Disinfecting (and How to Fix It)
- Mistake 4: Cleaning Out of Order (and How to Fix It)
- Mistake 5: Using the Wrong Cleaner for the Surface (and How to Fix It)
- Mistake 6: Ignoring High-Touch Areas (and How to Fix It)
- Mistake 7: Not Letting Surfaces Dry Properly (and How to Fix It)
- Maintaining Your New, Smarter Cleaning Habits
- Conclusion: Your Home, Truly Clean!
- Further Reading
I’ve learned this the hard way through years of battling dust bunnies and stubborn grime. But once I understood these prevalent errors and learned the simple fixes, my cleaning routine became faster, more efficient, and yielded genuinely cleaner results. This isn’t about scrubbing harder; it’s about cleaning smarter! So, if you’re ready to ditch those ineffective habits, save time, and finally achieve a truly pristine home, let’s uncover these widespread cleaning blunders and discover the easy ways to make everything sparkle.

Why Understanding Cleaning Mistakes Matters
It might seem obvious, but understanding common cleaning mistakes isn’t just about getting a cleaner home. It profoundly impacts your efficiency, health, and even the longevity of your belongings.
- Real Cleanliness vs. Surface Cleanliness: Often, what looks clean isn’t actually clean. Incorrect methods can leave behind residues, spread germs, or simply move dirt around instead of removing it. Knowing these common cleaning mistakes and how to fix them ensures you’re achieving genuine hygiene.
- Time & Energy Efficiency: Doing things the wrong way often means you have to do them again, or spend more time on them. Learning the right techniques saves precious minutes and physical effort, making your cleaning routine much more manageable.
- Protecting Your Home: Using incorrect products or methods can damage delicate surfaces, ruin finishes, or cause premature wear and tear. Proper cleaning preserves your investment in your home and its contents.
- Health & Safety: Spreading germs, using harsh chemicals improperly, or creating slippery surfaces can pose health risks. Correct cleaning protocols are essential for a healthy living environment.
- Reduced Frustration: There’s nothing worse than putting in effort and seeing streaks or grime still there. Understanding these prevalent errors and how to fix them leads to visible, satisfying results and less exasperation.
Ultimately, addressing common cleaning mistakes and how to fix them empowers you to clean with confidence, achieving better results with less effort, and ensuring your home is both spotless and safe.
The Shift to Smarter Cleaning: Mindset Matters
Before diving into specific cleaning blunders, embracing a “clean smarter, not harder” mindset is key. This mental shift will make adopting new techniques much easier and more effective.
- Be a Detective, Not Just a Scrubber: Before you grab a cloth, assess the surface. What material is it? What kind of dirt or grime is on it? This helps you choose the right tools and products.
- Understand Product Purpose: Don’t just spray everything with an all-purpose cleaner. Disinfectants, degreasers, glass cleaners – each has a specific role. Using the right tool for the job is paramount.
- Patience is a Virtue (Sometimes): Certain cleaning tasks, especially disinfecting, require dwell time. Rushing through can negate the product’s effectiveness.
- Prevention is Key: A truly clean home benefits from daily habits that prevent major buildup. This means wiping spills immediately, putting things away, and recognizing common cleaning mistakes before they become ingrained habits.
- Invest in Good Tools: While you don’t need a professional kit, having quality microfiber cloths, a decent vacuum, and appropriate brushes makes a huge difference. A good set of microfiber cloths, like the MR.SIGA Microfiber Cleaning Cloths, can elevate your results.
- Celebrate Small Wins: Each correct technique you adopt and each area you truly conquer builds confidence and makes the overall cleaning process more satisfying.
By cultivating this smarter cleaning mindset, you’re setting yourself up for success in overcoming widespread cleaning errors and transforming your cleaning routine.
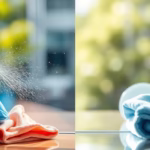
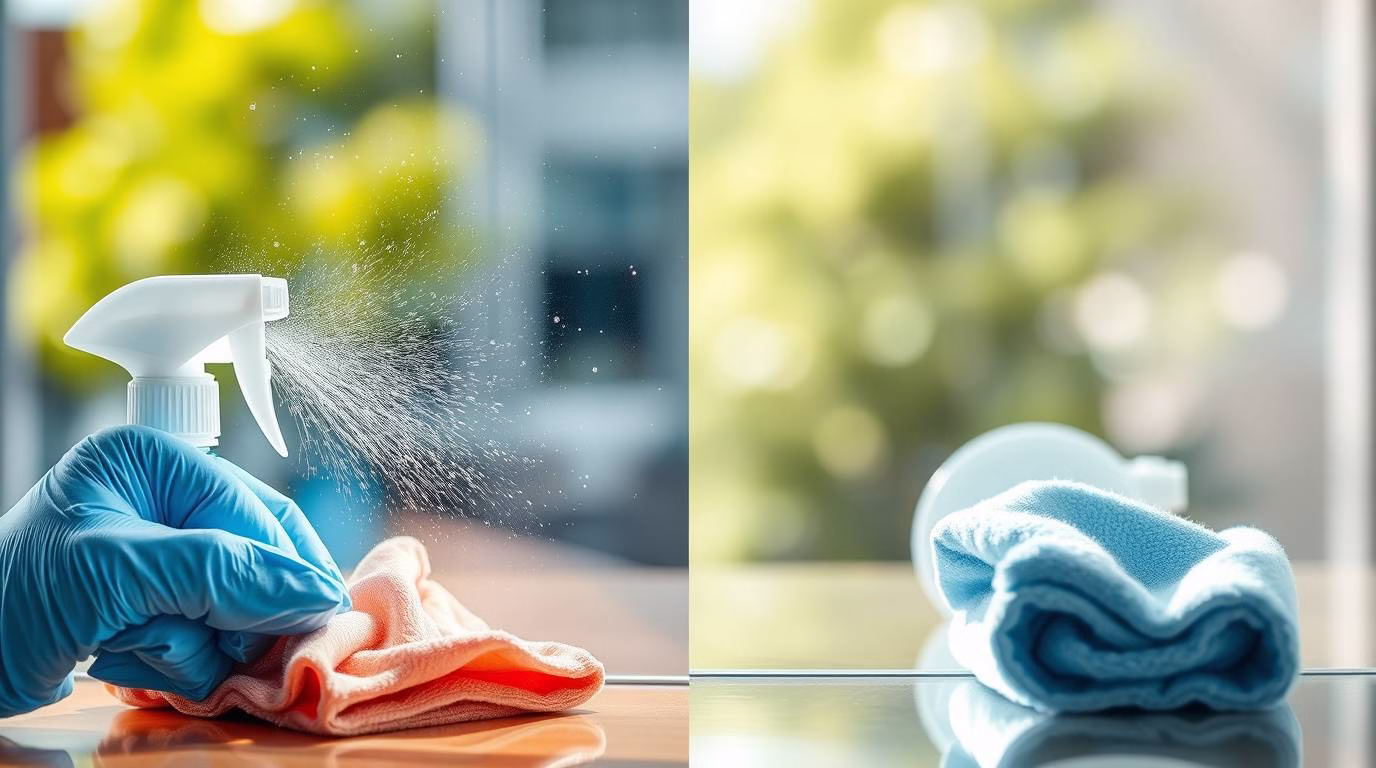
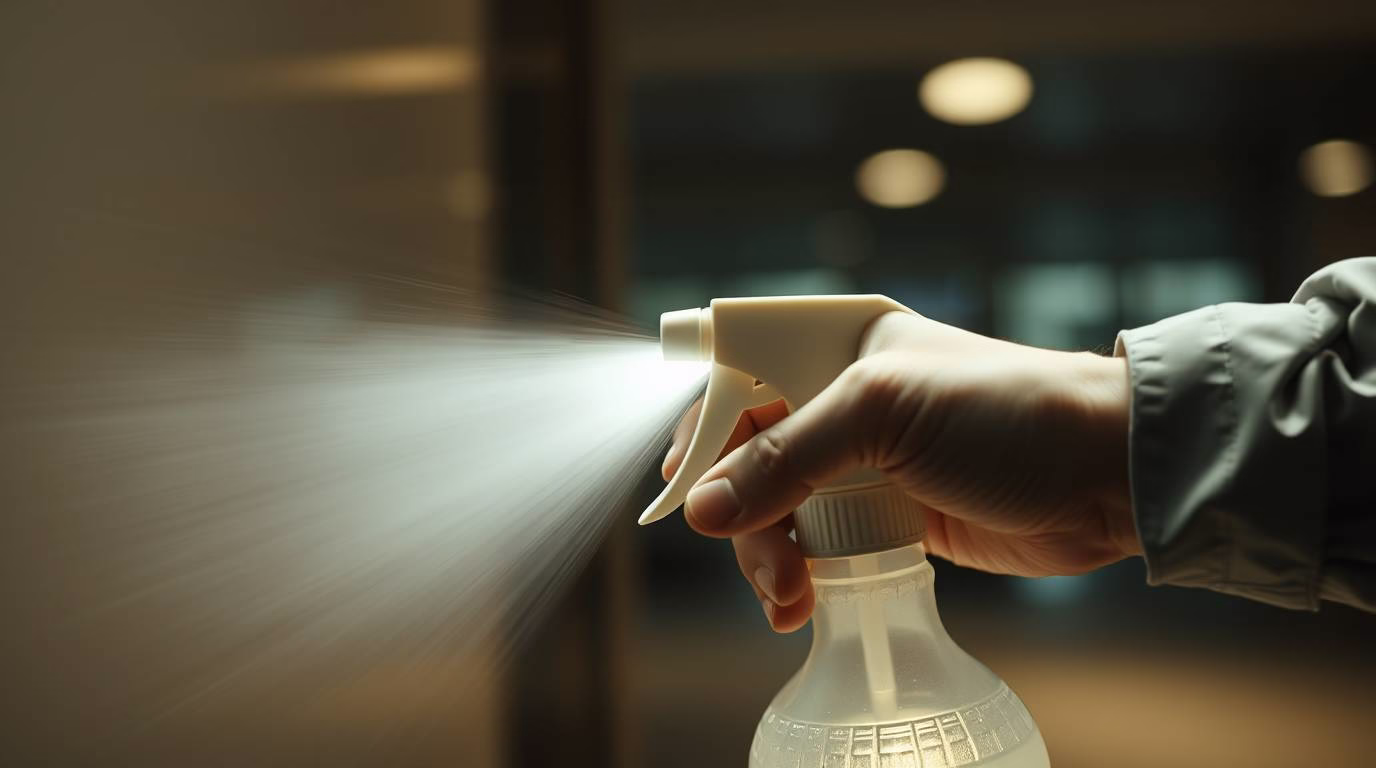
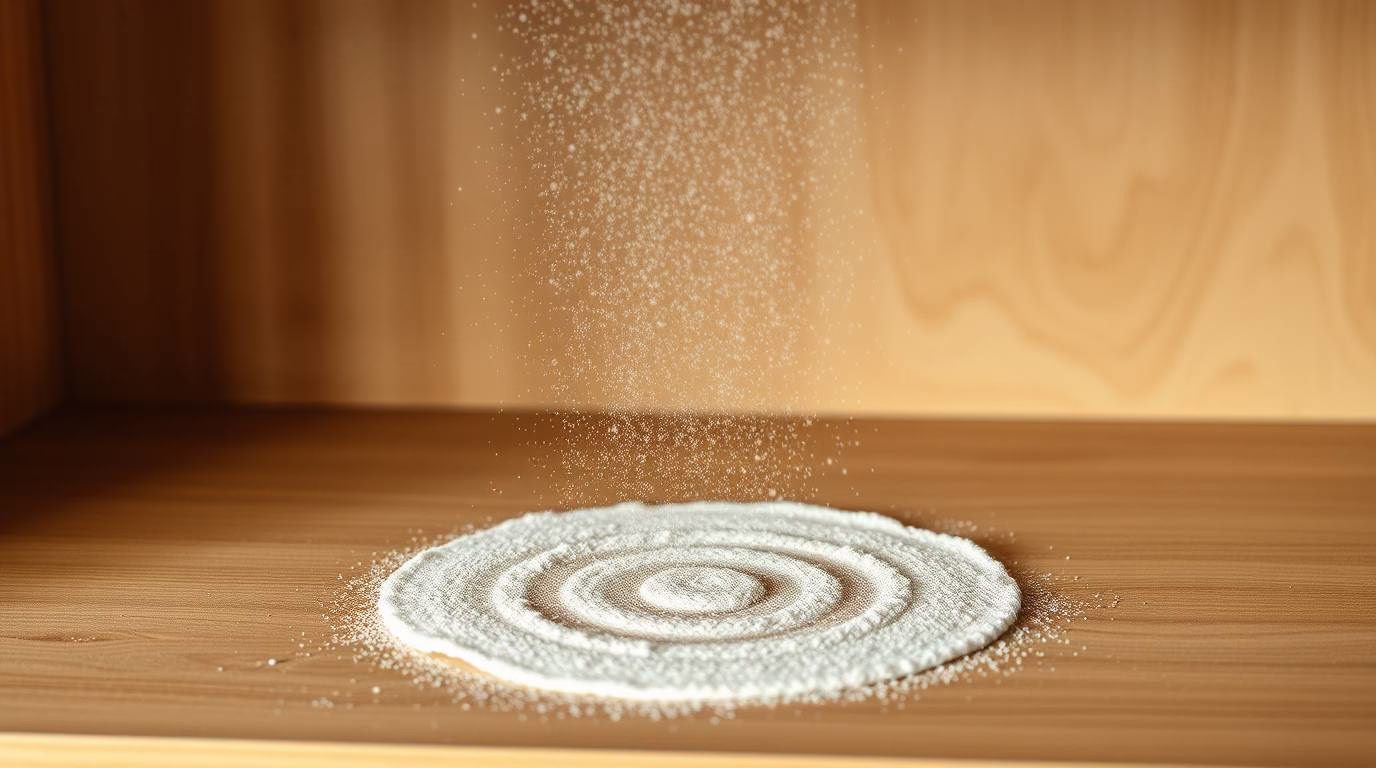
Mistake 1: Using Too Much Product (and How to Fix It)
This is one of the most common cleaning mistakes, and it’s counterintuitive! Many people believe more product means more clean, but it actually leads to sticky residues, streaks, and wasted money.
The Problem: Over-saturating surfaces with cleaner leaves behind a residue that attracts more dirt, creates streaks (especially on glass and shiny surfaces), and makes surfaces feel tacky. It’s also wasteful and can be overwhelming on your senses.
How to Fix It:
- Read Labels: Always follow the manufacturer’s instructions for dilution and application. “A little goes a long way” is often true for concentrated cleaners.
- Less is More: Start with a small amount of product. You can always add more if needed, but you can’t easily remove excess without rinsing.
- Dilute Concentrates Properly: If a cleaner is concentrated, use the recommended water-to-product ratio. For instance, a multi-surface concentrate like Method All-Purpose Cleaner Concentrate is designed to be diluted.
- Use Water as Your Ally: For many tasks, especially dusting and light wiping, plain water followed by a dry cloth is all you need. Sometimes, a damp microfiber cloth is enough to pick up dust without any spray at all.
- Spray the Cloth, Not the Surface: For glass or furniture polish, spray the product onto your cleaning cloth first, then wipe the surface. This prevents overspray and ensures even application.
By correcting this prevalent cleaning error, you’ll see fewer streaks, less residue, and save money on cleaning supplies.
Mistake 2: Forgetting to Clean Your Cleaning Tools (and How to Fix It)
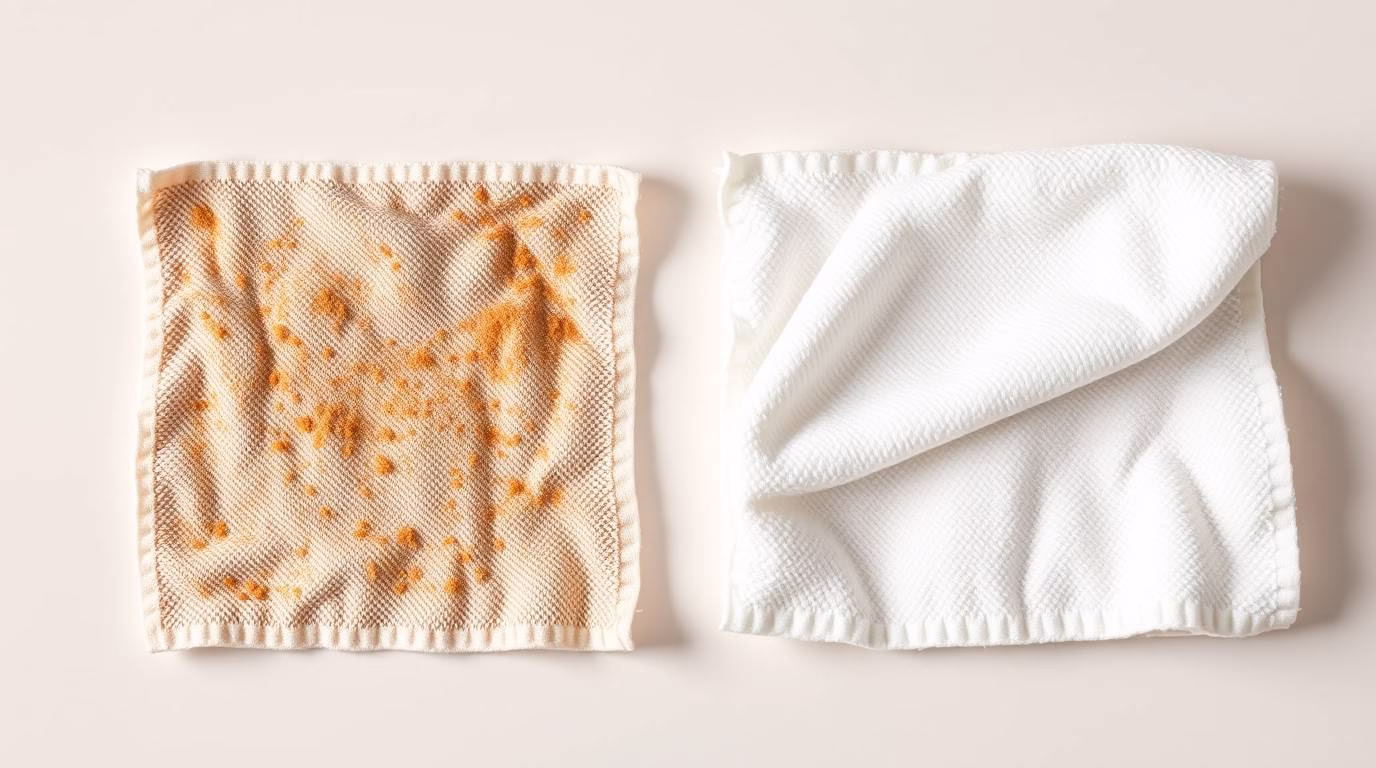
This is a major oversight that defeats the purpose of cleaning! Using dirty sponges, cloths, or vacuum filters means you’re just spreading grime, bacteria, and allergens around your home.
The Problem: Your cleaning tools pick up dirt, grease, and germs. If you don’t clean them regularly, they become contaminated and simply transfer that contamination from one surface to another. This is a common cleaning mistake that can undermine all your efforts.
How to Fix It:
- Wash Microfiber Cloths Regularly: After each significant cleaning session (or daily for heavy use), machine wash your microfiber cloths. Wash them separately from linty items and avoid fabric softener, which can reduce their absorbency. Keep a stack of fresh, clean cloths, like the Amazon Basics Microfiber Cleaning Cloths, ready.
- Sanitize Sponges: Sponges are notorious germ magnets. Microwave a damp sponge for 1-2 minutes daily, or run it through the dishwasher. Replace sponges frequently (weekly or bi-weekly depending on use).
- Clean Mop Heads: For traditional mops, remove and wash the head after each use. For spray mops with reusable pads, wash the pads after every cleaning.
- Empty and Clean Vacuum Filters/Canisters: Empty the vacuum canister or bag after every few uses. Regularly clean or replace filters according to your vacuum’s instructions to maintain suction and prevent allergen recirculation. A good vacuum, like the Shark Navigator Lift-Away Upright Vacuum, has washable filters.
- Wash Dishcloths/Towels Daily: These get heavy use and pick up food particles and germs. Toss them in the laundry frequently.
Addressing this widespread cleaning error ensures your tools are actually removing dirt and germs, not just moving them around.
Mistake 3: Wiping Surfaces Instead of Disinfecting (and How to Fix It)
Many people think a quick wipe with a disinfectant spray is enough to kill germs. However, most disinfectants require a specific “dwell time” to be effective. This is one of the most crucial common cleaning mistakes related to hygiene.
The Problem: You spray a disinfectant on a surface, wipe it immediately, and assume all germs are gone. In reality, the chemicals in disinfectants need to sit on the surface for a certain period (the “dwell time”) to effectively kill bacteria and viruses. Without it, you’re just doing a superficial clean.
How to Fix It:
- Read the Product Label Carefully: Every disinfectant will specify a dwell time, which can range from 30 seconds to 10 minutes or more.
- Apply and Let Sit: Spray the surface thoroughly, ensuring it’s visibly wet. Then, leave it alone for the recommended dwell time.
- Wipe Clean: After the dwell time has passed, wipe the surface clean with a fresh cloth.
- Focus on High-Risk Areas: This technique is especially important for areas like bathroom counters, toilets, kitchen sinks, and doorknobs – places where germs are most likely to accumulate. A disinfectant spray like Lysol Disinfectant Spray or Clorox Disinfecting Wipes will have these instructions on their labels.
By fixing this common cleaning mistake, you’ll ensure your efforts actually contribute to a healthier, germ-free home.
Mistake 4: Cleaning Out of Order (and How to Fix It)
Ever dusted your shelves only to have dust from above fall onto them again? This common cleaning mistake leads to wasted effort and endless re-dusting.
The Problem: Cleaning without a logical sequence often means you’re undoing your own work. Dusting after vacuuming, or wiping lower surfaces before upper ones, means dirt and particles simply fall onto already-clean areas, forcing you to clean them twice.
How to Fix It:
- Top to Bottom: Always start cleaning at the highest point in a room and work your way down. This applies to individual pieces of furniture (dust the top shelf before the bottom) and entire rooms (dust ceiling fans before tables).
- Dry to Wet: Tackle dry cleaning tasks (dusting, vacuuming/sweeping) before wet cleaning tasks (wiping down surfaces, mopping). This prevents dust from turning into mud or streaks when it mixes with liquid cleaners.
- Inside Out: When cleaning a room, start with the interior elements (furniture, decor) and then move to the perimeter (floors, baseboards).
- One Room at a Time (or One Zone): To avoid spreading dirt, try to complete all cleaning tasks in one area before moving to the next.
By adopting this logical sequence, you’ll eliminate a widespread cleaning error, save time, and achieve a truly thorough clean.
Mistake 5: Using the Wrong Cleaner for the Surface (and How to Fix It)
Grabbing any cleaner off the shelf for any surface is a recipe for disaster. This common cleaning mistake can lead to damage, dull finishes, or ineffective cleaning.
The Problem: Using abrasive cleaners on delicate surfaces (like glass or stainless steel), acidic cleaners on natural stone, or harsh chemicals on wood can cause permanent damage, discoloration, or leave unsightly streaks. Conversely, using a mild cleaner on a heavily soiled, greasy surface might not be effective at all.
How to Fix It:
- Know Your Surfaces: Before cleaning, identify the material you’re working with (wood, granite, stainless steel, laminate, glass, tile, etc.).
- Read Product Labels: Always check the “safe for use on” instructions on cleaning products. For instance, a dedicated Weiman Stainless Steel Cleaner & Polish is much better for appliances than an all-purpose spray.
- Spot Test: If you’re unsure about a new cleaner on a delicate or unseen surface, apply a tiny amount to an inconspicuous spot first and wait to see if there’s any adverse reaction.
- Use Microfiber for Most Surfaces: For many surfaces (glass, stainless steel, polished wood), a damp microfiber cloth (with just water or a tiny bit of appropriate cleaner) is often the best and safest choice, reducing the need for multiple specialized products.
- Choose All-Purpose Carefully: Some all-purpose cleaners are indeed safe for many surfaces, but always verify before widespread use. For instance, Mrs. Meyer’s Clean Day Multi-Surface Everyday Cleaner is generally safe for sealed surfaces.
By avoiding this widespread cleaning error, you’ll protect your belongings and ensure your cleaning efforts are always effective and safe.
Mistake 6: Ignoring High-Touch Areas (and How to Fix It)
While you might focus on visible grime, some of the germiest spots in your home are often overlooked. This is a subtle yet significant common cleaning mistake that impacts hygiene.
The Problem: Surfaces that are touched frequently by multiple hands (or even just your own multiple times a day) become hotspots for bacteria and viruses. Things like doorknobs, light switches, remote controls, and cabinet handles often get missed in regular cleaning routines.
How to Fix It:
- Identify Hotspots: Walk through your home and identify everything you and your family touch regularly throughout the day.
- Clean Them Frequently: Make a habit of wiping down these high-touch areas daily or every other day, especially during cold and flu season.
- Use Disinfectant Wipes: Disinfectant wipes are perfect for these small, frequently touched surfaces because they ensure adequate dwell time and easy disposal. Keep a container of Lysol Disinfecting Wipes handy in each major area (kitchen, bathroom, living room).
- Don’t Forget Electronics: Remote controls, phone screens, keyboards, and computer mice are often breeding grounds for germs. Use appropriate electronics cleaners or disinfectant wipes that are safe for these surfaces.
Addressing this prevalent cleaning error significantly boosts the overall hygiene of your home and contributes to a healthier living environment.
Mistake 7: Not Letting Surfaces Dry Properly (and How to Fix It)
After all your hard work, rushing this final step can undo your efforts, leaving behind unsightly streaks, water spots, or even creating conditions for mold growth. This is a frequent, yet easily fixable, common cleaning mistake.
The Problem: Wiping a surface dry too quickly, or not wiping it dry at all, can leave behind watermarks, streaks, or residue. For some surfaces, like wood, leaving them wet can cause damage. In humid environments, dampness can encourage mold or mildew.
How to Fix It:
- Air Dry When Possible: For many surfaces, especially after disinfecting (which requires dwell time), simply allow the surface to air dry completely.
- Use a Dry Microfiber Cloth: For streak-free results on glass, mirrors, stainless steel, and other shiny surfaces, follow your initial cleaning with a completely dry, clean microfiber cloth to buff it dry. The Rag Company Professional Microfiber Glass & Window Cleaning Cloths are excellent for streak-free drying.
- Change Damp Cloths: If your drying cloth becomes too damp, it will start to spread water instead of absorbing it, leading to streaks. Grab a fresh, dry one.
- Ventilate: After cleaning bathrooms or other damp areas, open a window or turn on the fan to help surfaces dry faster and prevent humidity buildup.
By correcting this common cleaning mistake, you’ll ensure your surfaces are truly pristine, gleaming, and free from any post-cleaning imperfections.
Maintaining Your New, Smarter Cleaning Habits
Understanding common cleaning mistakes and how to fix them is one thing; making these new, smarter habits stick is another! Here’s how to ensure your efforts lead to lasting cleanliness.
- Create a Routine: Even a simple daily or weekly checklist for certain tasks (like wiping high-touch areas) can help. Consistency is key.
- Prep Your Supplies: Keep your cleaning tools clean and ready to go. Knowing you have fresh cloths and effective products makes it easier to start.
- Break It Down: Instead of one massive cleaning session, break tasks into smaller, manageable chunks. Tackle one room or one type of task per day.
- Be Patient with Yourself: It takes time to break old habits and form new ones. Don’t get discouraged if you occasionally revert to an old mistake. Just acknowledge it and get back on track.
- Focus on the Results: Remind yourself of the benefits – a truly cleaner home, more efficiency, less frustration. This positive reinforcement will encourage you to stick with your improved techniques.
By integrating these refined methods into your routine, you’ll find that overcoming common cleaning mistakes isn’t just a temporary fix, but a sustainable path to a consistently cleaner, healthier, and happier home.
Conclusion: Your Home, Truly Clean!
No more wasted effort or disappointing results! By understanding these 7 common cleaning mistakes (and how to fix them), you’re now equipped to clean smarter, not harder. From using the right amount of product to knowing when to disinfect versus simply wipe, each tweak to your routine will make a visible difference.
Embrace the power of purpose-driven cleaning – cleaning your tools, tackling surfaces in the correct order, and paying attention to those often-missed high-touch areas. Your home isn’t just tidier; it’s genuinely cleaner, healthier, and more inviting. Get ready to enjoy the satisfaction of a truly sparkling space, achieved with greater efficiency and far less frustration!
Don’t want to miss our next article? Follow us on social media! And while you’re here, why not explore more great articles on our blog for even more easy life tips!
Further Reading
- 9 Cleaning Mistakes Professional Cleaners Would Never Make
- 30 Cleaning Mistakes You’re Probably Making, According to Pro Cleaners
- 10 Cleaning Mistakes That Are Actually Making Your Home Dirtier
Affiliate Disclosures
This post may contain affiliate links, which means we may receive a commission if you make a purchase through these links, at no extra cost to you. As an Amazon Associate, we earn from qualifying purchases. This helps support our blog and allows us to continue sharing easy life tips with you!